1. How can I decorate my home for Halloween on a budget?
Decorating your home for Halloween on a budget is not only possible but also enjoyable. Consider these cost-effective options:
-
DIY Decor: Create your decorations using materials you have at home or affordable craft supplies. Ideas include paper bats, cardboard tombstones, or even upcycled jars as spooky candleholders.
-
Thrift Stores: Visit thrift stores for secondhand Halloween decorations at a fraction of the cost. You can often find unique and charming pieces that add character to your decor.
-
Natural Elements: Incorporate natural elements like fallen leaves, pinecones, and pumpkins from local farms. These can be used for festive displays both indoors and outdoors.
-
Reusing Decor: Reuse your previous years' Halloween decorations. With some creativity, you can give them a fresh look or incorporate them into new themes.
Decorating on a budget allows you to put your resourcefulness to the test and create a Halloween atmosphere that doesn't break the bank.
2. What are some easy DIY Halloween decoration ideas?
DIY Halloween decorations are a fun and cost-effective way to get creative. Here are some easy DIY ideas:
-
Paper Bats: Cut bat shapes out of black paper and hang them around your home. These simple decorations instantly create a spooky atmosphere.
-
Mason Jar Luminaries: Paint or wrap mason jars with tissue paper to create eerie luminaries. Place battery-operated tea lights inside for a haunting glow.
-
Ghostly Tablecloth: Drape a white sheet over a table and cut out holes for eyes to make a ghostly tablecloth. It's a simple yet effective decoration.
-
Spider Webs: Create spider webs using white yarn or string. Add plastic spiders for extra spookiness.
-
Candy Corn Vases: Fill clear glass vases with layers of candy corn. Insert fake or real flowers for a sweet yet spooky centerpiece.
These DIY projects are perfect for getting the whole family involved in decorating your home.
🎃 See the rich collection of Halloween Gift Ideas.
3. What are some spooky lighting ideas for a Halloween party?
Spooky lighting is essential for setting the right atmosphere at a Halloween party. Here are some ideas:
-
Candles: Use a mix of real and battery-operated candles to create a warm and eerie glow. Place them in old candleholders, lanterns, or candelabras.
-
String Lights: Opt for orange or purple string lights, which are readily available in stores. Hang them on walls, ceilings, or along railings to create a mysterious ambiance.
-
Luminaries: Craft your own paper bag luminaries by cutting spooky shapes into the bags and placing LED candles inside. Line your walkway or tables with them.
-
Black Lights: Incorporate black lights, also known as UV lights, to make fluorescent and glow-in-the-dark decorations pop. They're great for highlighting neon or eerie effects.
-
Projection Effects: Use a projector to cast ghostly images, animations, or silhouettes onto walls or windows. It's a high-impact way to create an eerie atmosphere.
Combine these lighting ideas to achieve a spine-tingling effect at your Halloween party.
4. How to create a haunted house atmosphere with Halloween decor?
Transforming your home into a haunted house requires careful planning and a mix of eerie decorations. Here's how:
-
Dim Lighting: Keep the lighting low and moody. Use candles, string lights, or black lights to create an eerie ambiance.
-
Cobwebs: Cover furniture, corners, and doorways with synthetic cobwebs. Stretch them thin for an authentic look.
-
Sound Effects: Play haunted house soundtracks to add to the spooky atmosphere. Sounds of creaking doors, howling winds, and faint whispers can set the tone.
-
Creepy Props: Incorporate props like life-sized skeletons, tombstones, and fake body parts. Arrange them strategically to startle and surprise your guests.
-
Gory Details: Add gory details like bloody handprints, splatters, and "bloody" footprints to create a horrifying scene.
-
Haunted Portrait Gallery: Print or paint eerie portraits and place them in antique frames. The eyes can follow guests, adding a creepy touch.
Creating a haunted house atmosphere involves attention to detail and careful placement of decorations. The more immersive, the scarier the experience.
5. What are some unique outdoor Halloween decorating ideas?
Unique outdoor Halloween decorating ideas can make your home stand out in the neighborhood. Here are some suggestions:
-
Witch's Broom Parking: Place a few "witches' brooms" (brooms with sticks and witches' hats) near your front porch, as if the witches parked them there.
-
Zombie Hands: Have zombie hands emerging from the ground or large planters. You can create these using gloves and stuffed sleeves.
-
Glowing Eyes: Cut out spooky eye shapes from cardboard or glow-in-the-dark material and place them behind bushes or trees. They'll give the illusion of watching eyes in the dark.
-
Pumpkin Pathway: Line your walkway with carved pumpkins or luminaries for a warm and inviting yet spooky entrance.
-
Haunted Tree: Hang ghostly white sheets or gauzy fabric from a tree to create the appearance of floating ghosts in your yard.
-
Creepy Crawlies: Decorate your porch and exterior with oversized spiders and spiderwebs, creating the impression of a spider-infested lair.
Unique outdoor decorations can impress and delight trick-or-treaters and party guests.
6. What are the steps to carve a perfect Halloween pumpkin?
Carving the perfect Halloween pumpkin involves several steps. Here's a guide:
Select a Pumpkin: Choose a firm, ripe pumpkin with a flat base. This ensures stability and longevity.
Design: Plan your design before starting. You can draw it freehand or use stencils.
Cut the Lid: Cut a lid around the stem remove the pumpkin's seeds and stringy bits. You can save the seeds for roasting if you like.
Transfer the Design: If you're using a stencil, tape it to the pumpkin. Then, use a marker or poking tool to transfer the design onto the pumpkin's surface.
Carve: Carefully carve along the lines you marked or cut out the areas specified in your stencil. It's essential to use a sharp, serrated knife or a pumpkin carving tool for precision.
Shade and Texture: Use different levels of carving to create shading and texture. Thicker areas will appear darker when illuminated.
Lighting: Place a candle or LED light inside the pumpkin to bring your design to life.
Maintenance: Keep your pumpkin fresh by applying petroleum jelly to the cut edges, and store it in a cool place when not in use.
With these steps, you can create a perfect Halloween pumpkin that adds a spooky or whimsical touch to your decorations.
7. What are some creative pumpkin painting ideas for kids?
Pumpkin painting is a fun and mess-free alternative to carving. Here are some creative ideas for kids:
-
Animal Faces: Paint pumpkins with faces of animals like cats, owls, or pandas. Add ears, eyes, noses, and whiskers to complete the look.
-
Emoji Pumpkins: Create popular emojis like the smiling face, heart eyes, or the ghost emoji. Kids can get creative with the expressions.
-
Superheroes: Paint pumpkins with the logos and colors of their favorite superheroes, whether it's Spider-Man, Wonder Woman, or the Avengers.
-
Monsters: Design goofy or scary monster faces with multiple eyes, sharp teeth, and wild hair. Let your child's imagination run wild.
-
Rainbow Pumpkins: Use bright and cheerful colors to paint rainbow patterns, stripes, or polka dots on the pumpkins.
-
Storybook Characters: Paint characters from beloved children's books, like the Cat in the Hat or the Gruffalo.
These painting ideas allow kids to personalize their pumpkins and let their creativity shine.
8. How can I make my own Halloween wreath or door decoration?
Creating your Halloween wreath or door decoration is a fun and artistic project. Here's a step-by-step guide:
-
Gather Supplies: You'll need a wreath base (usually foam or straw), artificial flowers, leaves, ornaments, and ribbon.
-
Choose a Theme: Decide on the theme for your wreath. It could be traditional Halloween (pumpkins, bats, spiders), fall-inspired (leaves, acorns), or even a specific motif like witches or ghosts.
-
Assemble the Wreath: Start by attaching your base decorations, like pumpkins or bats, evenly around the wreath.
-
Add Foliage: Insert artificial leaves or foliage throughout the wreath to fill in gaps and create a lush appearance.
-
Ornaments and Details: Place ornaments, ribbons, and any additional decorative items to enhance the theme.
-
Secure Everything: Use a hot glue gun or wire to secure all items to the wreath base.
-
Personalize: Add any personal touches, such as your family name or a spooky message.
-
Hang It: Attach a hanger to the back and hang your custom-made decoration on your front door.
Creating your door decoration allows you to personalize your home's entryway and show off your creativity.
9. Are there any affordable DIY Halloween crafts for adults?
Certainly, there are numerous affordable DIY Halloween crafts for adults. Here are a few ideas:
-
Halloween Candles: Transform plain candles into spooky or elegant designs using tissue paper and Mod Podge.
-
Witch Hat Wreath: Craft a witch hat-shaped wreath using a foam cone, black fabric, and ribbon for a whimsical door decoration.
-
Bottle Labeling: Collect empty glass bottles and create custom potion or poison labels. Fill the bottles with colored water for an eerie effect.
-
Floating Ghosts: Make ethereal ghosts by covering balloons with cheesecloth soaked in fabric stiffener. Add faces for a haunting touch.
-
Mason Jar Lanterns: Paint mason jars with spooky or whimsical designs, insert LED candles, and place them around your home or yard.
These DIY crafts allow adults to get into the Halloween spirit with budget-friendly projects.
10. What are some non-spooky Halloween crafts for young children?
Non-spooky Halloween crafts are perfect for young children who may be sensitive to scary themes. Here are some kid-friendly ideas:
-
Paper Plate Masks: Provide paper plates, paint, markers, and craft supplies for kids to create their masks. They can make friendly animals, superheroes, or colorful characters.
-
Pumpkin Decorating: Instead of carving, let children paint and decorate pumpkins with cheerful faces, patterns, or stickers.
-
Spooky Storybooks: Have kids create their Halloween storybooks by drawing pictures, writing a simple storyline, and binding their booklets.
-
Fall Leaf Collages: Collect colorful fall leaves and encourage children to make collages or artwork with them. This craft celebrates the beauty of the season without spookiness.
-
Halloween Garlands: Kids can create garlands with paper cutouts, string, and their choice of cheerful Halloween shapes like bats, cats, or candy corn.
These crafts provide a festive and creative outlet for young children without frightening elements.
11. What are some ideas for decorating a Halloween-themed dessert table?
Decorating a Halloween-themed dessert table can be a delightful project. Here are some ideas:
-
Tablecloth: Choose a Halloween-themed tablecloth, such as one with spider webs or pumpkins, as the base for your dessert table.
-
Backdrop: Create a backdrop using black and orange streamers, balloons, or fabric. Add a Halloween banner for a finishing touch.
-
Serving Platters: Use black or orange platters, cake stands, and serving dishes for your treats. Add fake spiders, bats, or skulls as decorations.
-
Candles and Lanterns: Place black or orange candles, as well as Halloween-themed lanterns or candle holders, on the table to add a warm glow.
-
Labels and Signs: Create labels for each dessert to let guests know what's on the menu. You can also add signs with fun and spooky names for your treats.
-
Centerpiece: A spooky or whimsical centerpiece, such as a pumpkin, a cauldron, or a Halloween-themed figurine, adds flair to the table.
-
Balloons: Use Halloween-themed balloons to create a fun and festive atmosphere above the table.
A well-decorated dessert table can be a highlight of your Halloween gathering.
12. How can I create a Halloween-themed centerpiece for my dining table?
A Halloween-themed centerpiece can set the tone for your dining table. Here's how to create one:
-
Choose a Theme: Decide on your theme, whether it's classic Halloween, elegant Gothic, or a specific motif like witches, vampires, or haunted houses.
-
Select a Base: Choose a base for your centerpiece, such as a large pumpkin, a candelabrum, a glass cloche, or a rustic wooden tray.
-
Decorate the Base: Enhance the base with Halloween elements like black and orange candles, fall leaves, dried flowers, or artificial cobwebs.
-
Themed Decor: Add themed decor such as mini pumpkins, skulls, bats, or witches' hats to match your chosen theme.
-
Candles or Lights: Place candles, LED tea lights, or fairy lights to create a warm and atmospheric glow.
-
Elevate the Centerpiece: Elevate your centerpiece by using candleholders, cake stands, or risers to add height and visual interest.
-
Table Runner or Cloth: Lay down a Halloween-themed table runner or cloth to tie the entire look together.
-
Personal Touch: Add personal touches like name cards, spooky place cards, or even a small cauldron with treats for each guest.
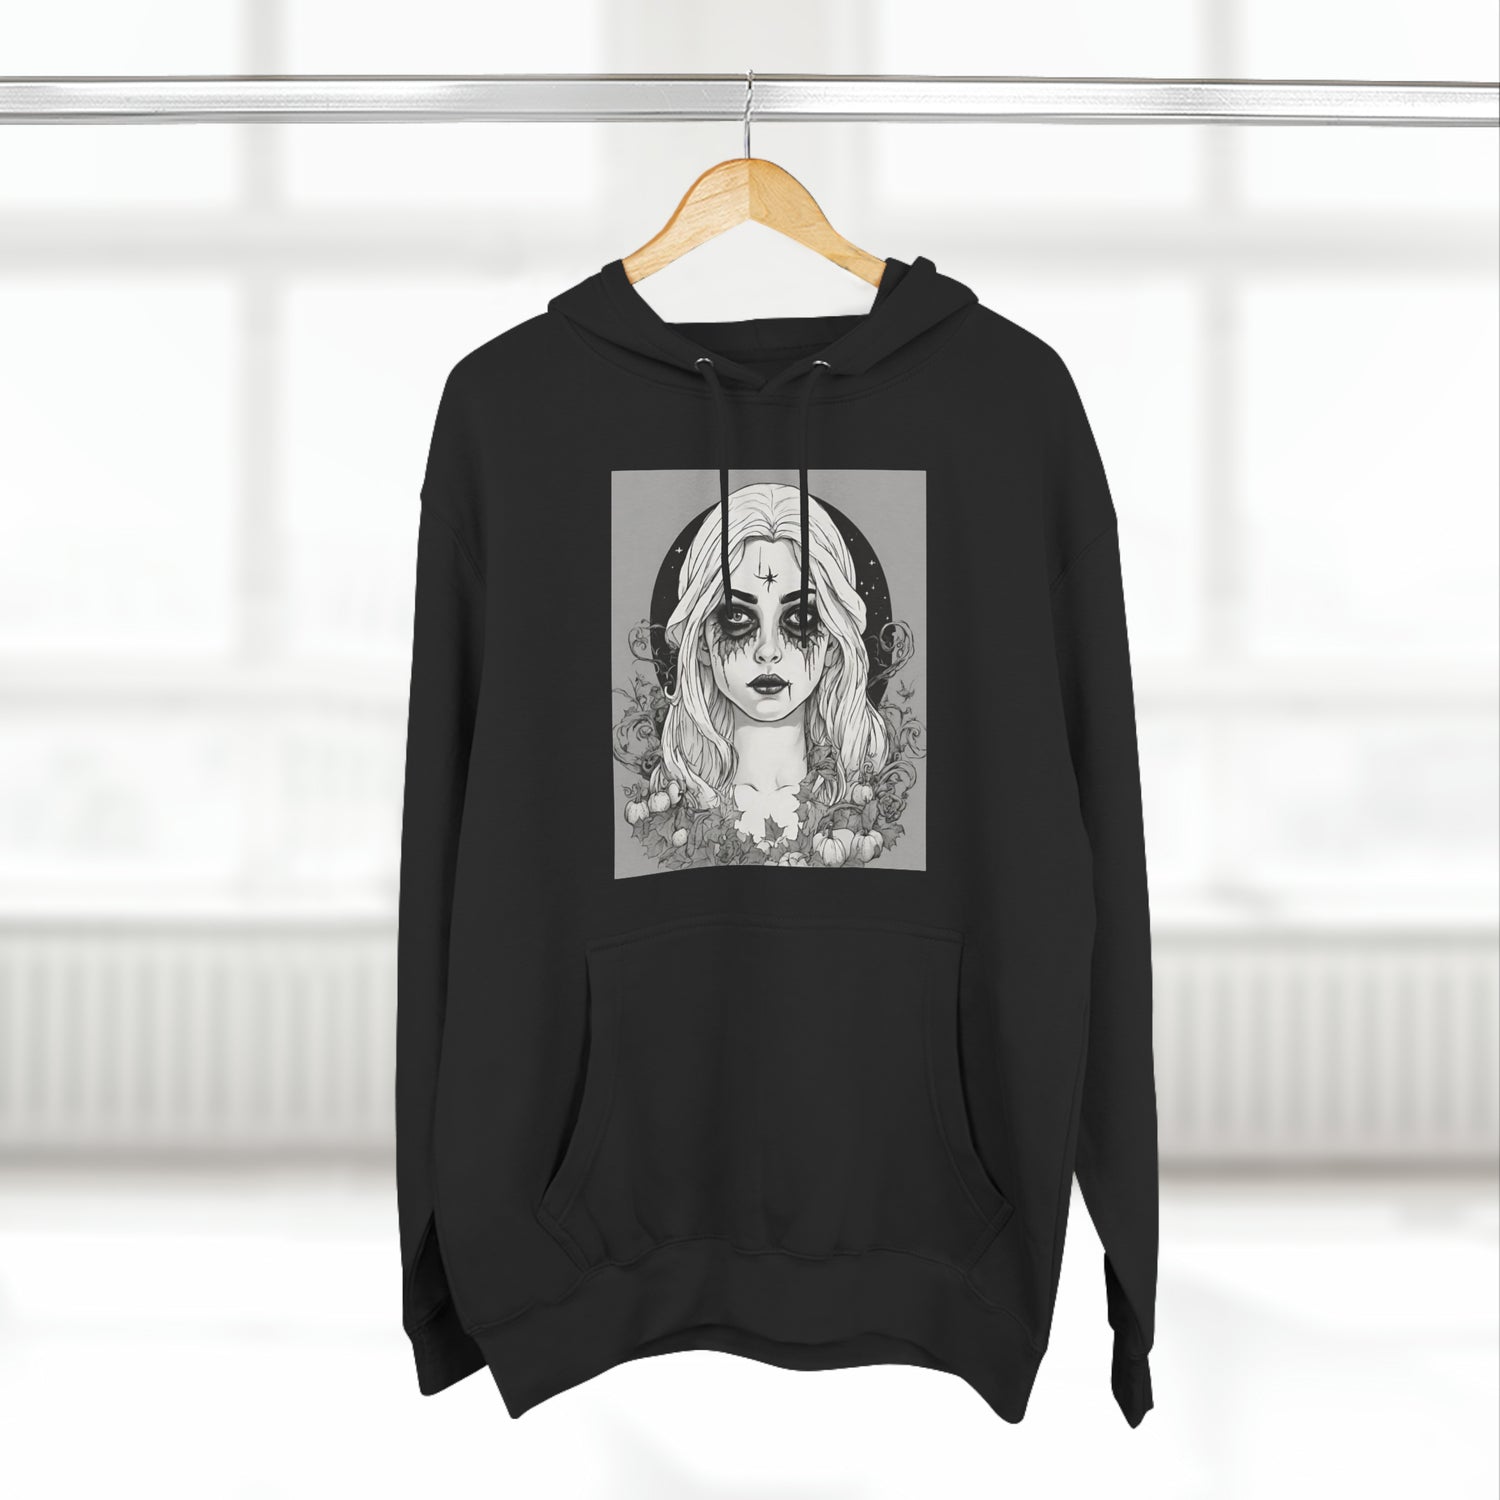
Recommended Halloween Items:
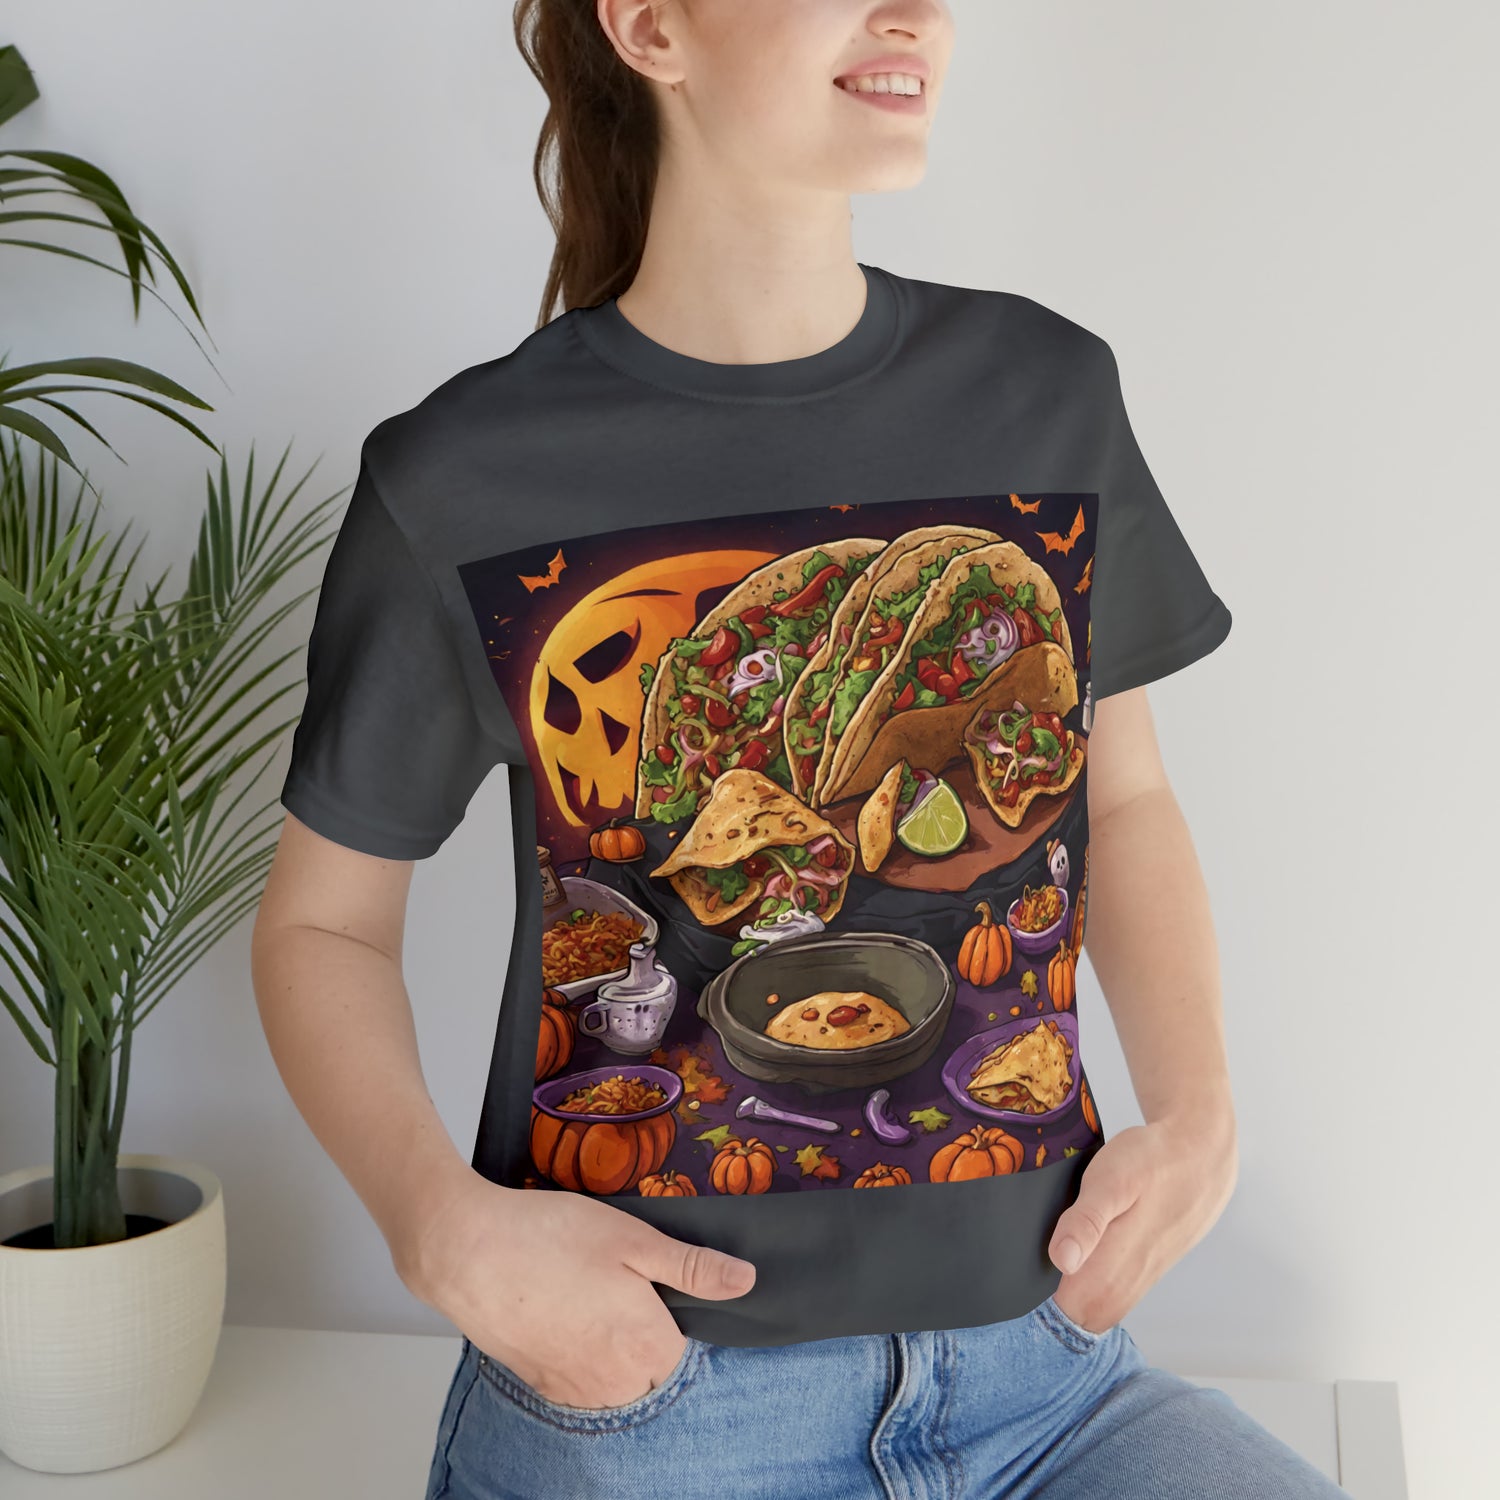
1. Halloween Scary Witch Tee